The Weishi timegrapher uses pre-recorded audio for escapement sound. Although this is fine to get a sense of the beats per hour it is not useful for anything else as proper diagnostics require listening to the escapement, something that is only available on the prohibitavely expensive pro-level stuff. This also means that you cannot use a computer as a timegrapher with the Weishi microphone attached; you need to use the timegrapher. Which is fine unless you want to track the watch over a long period of time.
The microphone uses GX16 connector and has some electronics onboard that require power. Unfortunately this means that it isn't possible to just get a cable adapter but it is possilbe to build a small box that does the conversion.
Credit for the idea and circuit go to ONXYApp on youtube https://www.youtube.com/watch?v=As2ZPJsmJBM. THIS IS NOT AN ADVERTISMENT AND I'M NOT AFFILIATED. I just wanted to do this and their circuit diagram came in handy. I don't use any of their software.
What you will need
Circuit Diagram

Circuit is really simple, just a battery, a capacitor, a switch and a resistor.
How to
- Cut two holes in the box, one for the GX16 (~14.5mm) plug and another for the 3.5mm (~3.5mm) jack on opposite ends.
- Cut a small slot for the switch.
- Take the 3.5mm jack and push the wire end through the hole.
- Insert the GR16 male plug into the hole. In my case the washer and nut did not fit the case but the hole is tight enough that it doesn't matter.
- Cut the jack's red and white wires (Tip and top Ring), leaving the black and green wires (bottom Ring and Sleeve).
- Solder the resistor between the jack's black and green wires.
- Solder the capacitor to the end of the jack's green wire.
- Solder the other end of the capacitor to the number 2 pin on the GR16 plug. This is the pin that stands alone at the bottom. Blue wire.
- Solder the end of the resistor on the black wire side to the number 1 pin on the GR16 plug. This is the top left pin when looking at the plug straight on with the notch placed at top. Brown wire.
- Solder a wire from the wire you just connected to the resistor to the switch's middle pin. I just used part of the plug's wire that was too long.
- Solder the negative (black) wire on the 9V battery clip to the number 3 pin on the GR16 plug. This is the top right pin when looking at the plug straight on with the notch placed at top. Yellow and green wire.
- Solder the positive (red) wire on the 9V battery clip to one of the switche's side contacts. This will be the ON position.
- Place everything in the box neatly, don't short anything.
- You're done.


Problems
Sample recordings
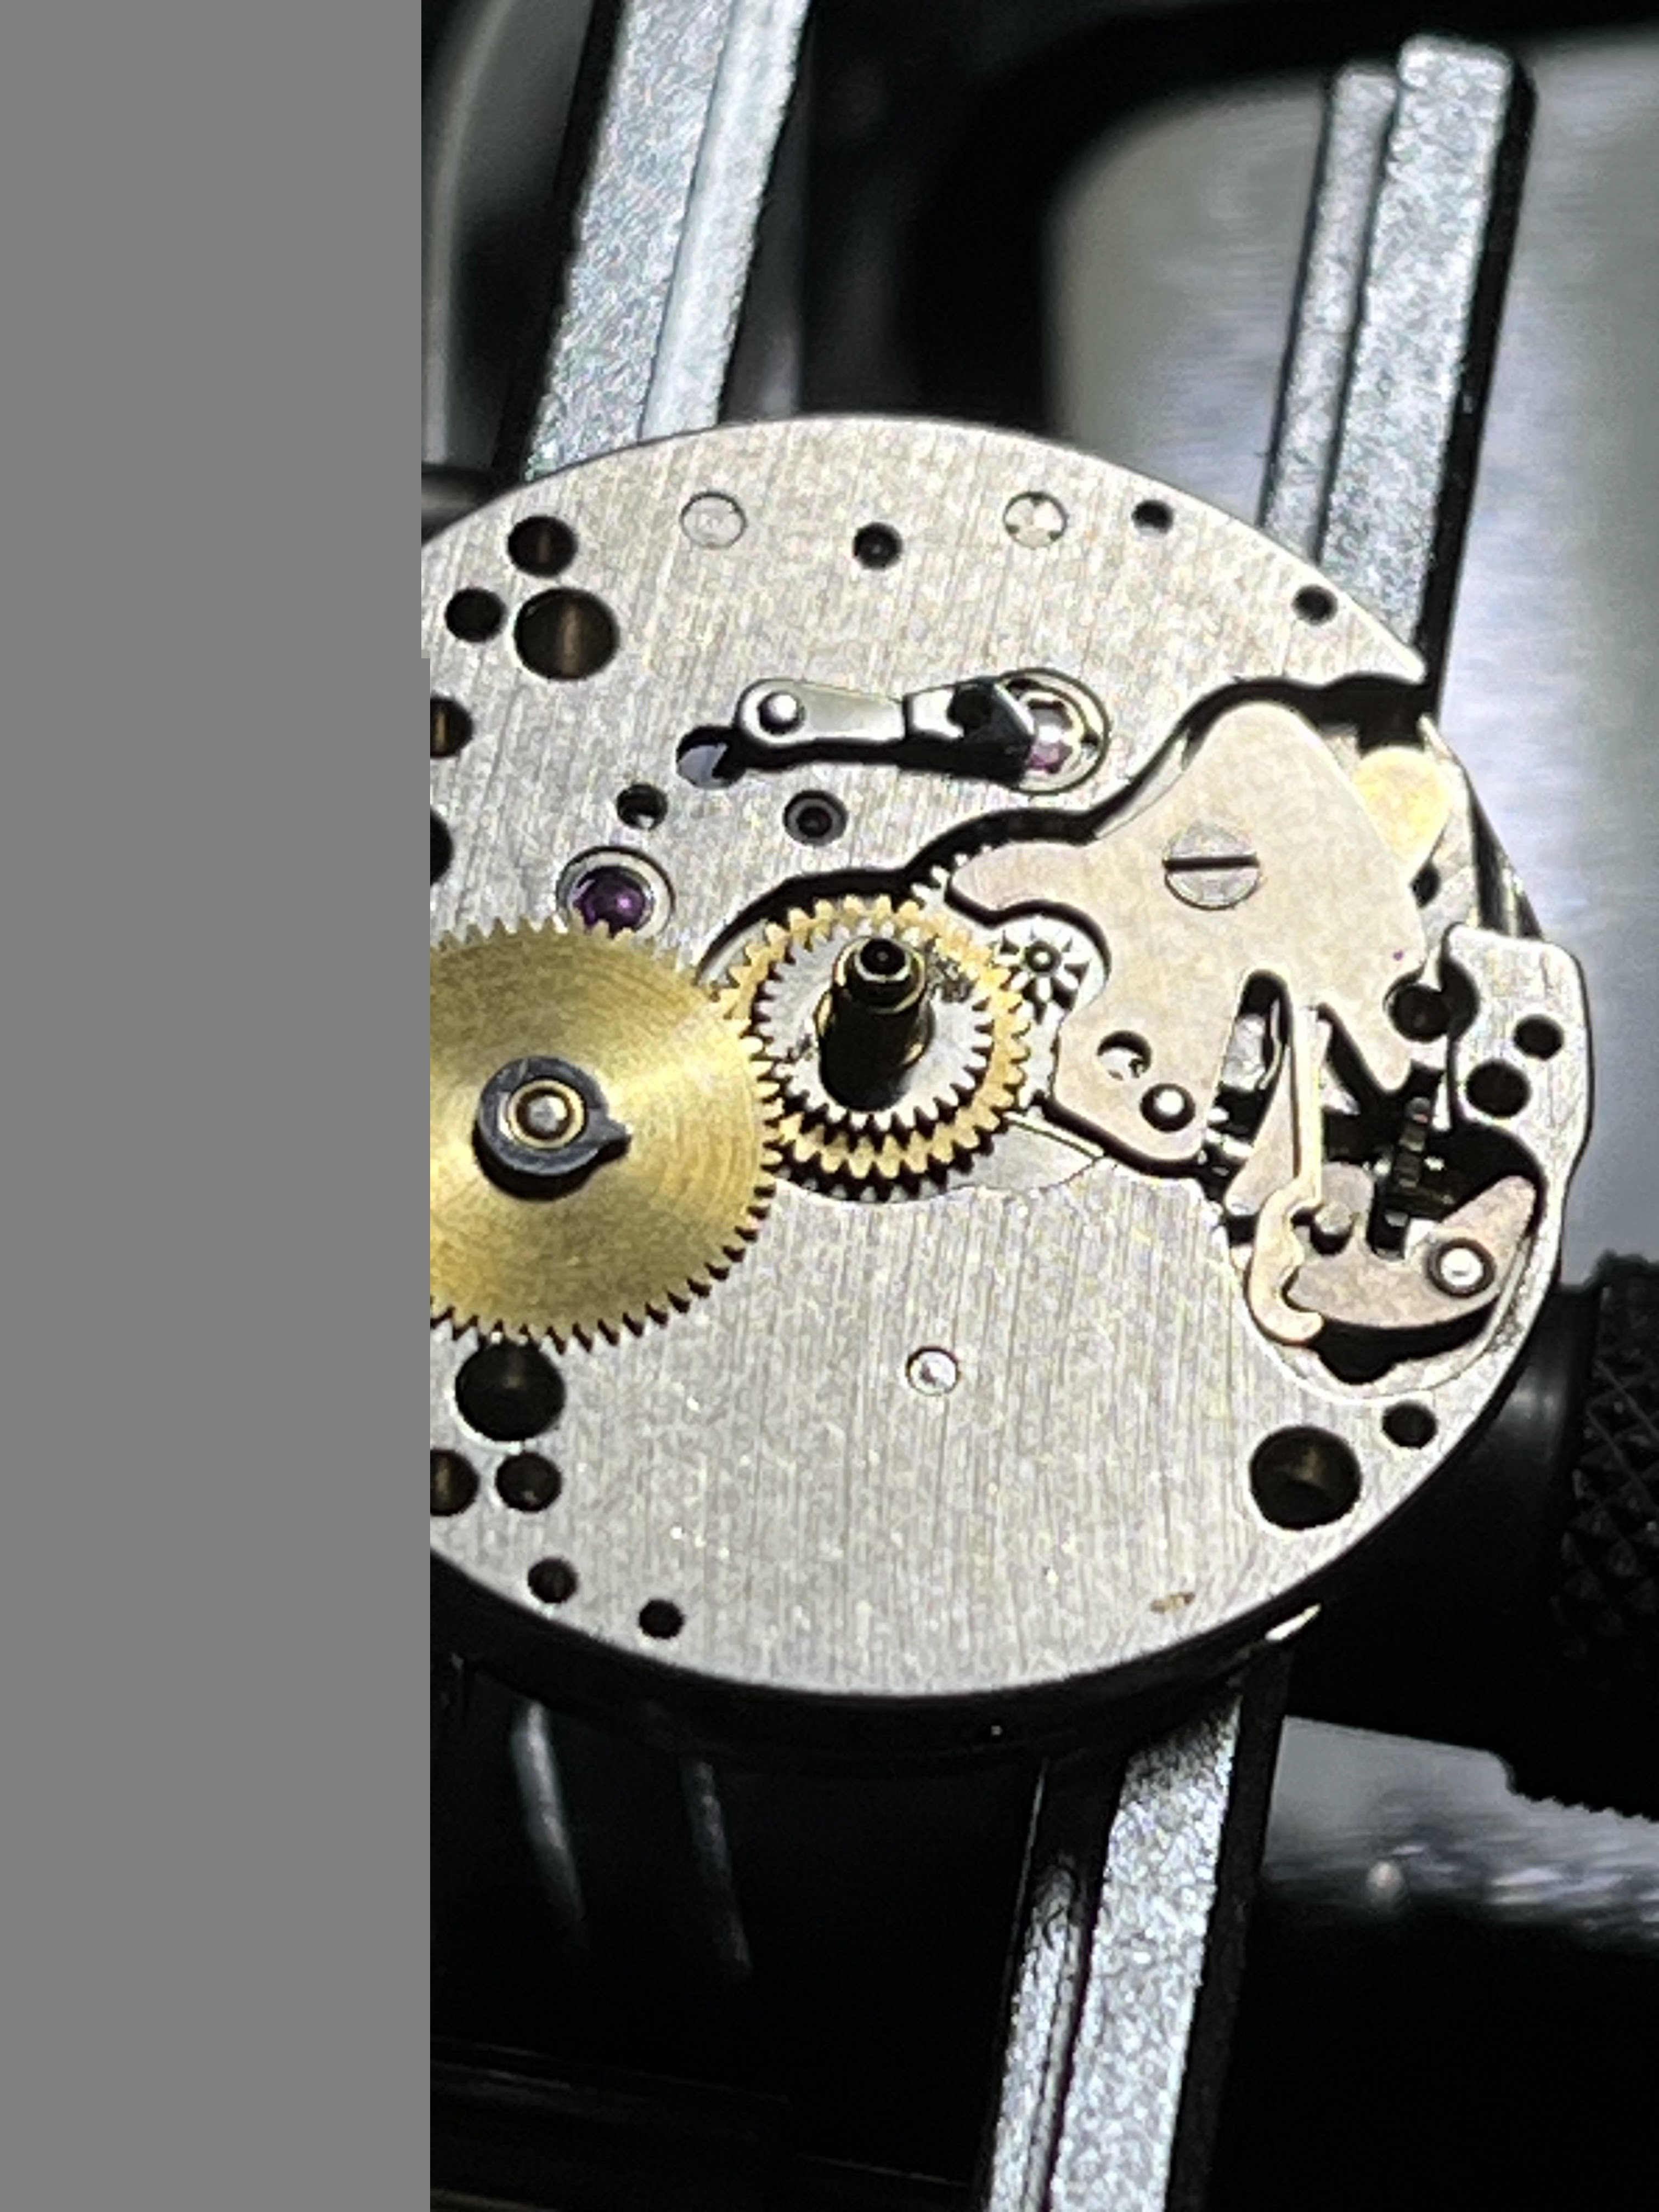
- ST36, practiced on many, many times. Maybe 30 or so disassamblies?
- Chinese 7750 clone as purchased
- Unknown 1 jewel movement, Roskopf escapement
- Velona 1100 ETA 2409 serviced known rate fluctuation and pallet stones need replacement
- NH35A with a broken mainspring
- Unknown movement from 1930s, unserviced
- Elgin grade 303 model 3 unserviced
- Tudor Black Bay 58
- Yema watch, unknown movement, not serviced
- Junghans 620.10 unserviced
- Wostok 2605 unserviced
- Quartz